Soil test. Non-negotiable.
My number-one rule: get a soil test before building your fertilizer plan. Stop guessing what the lawn needs. Here’s exactly how to do it ↓
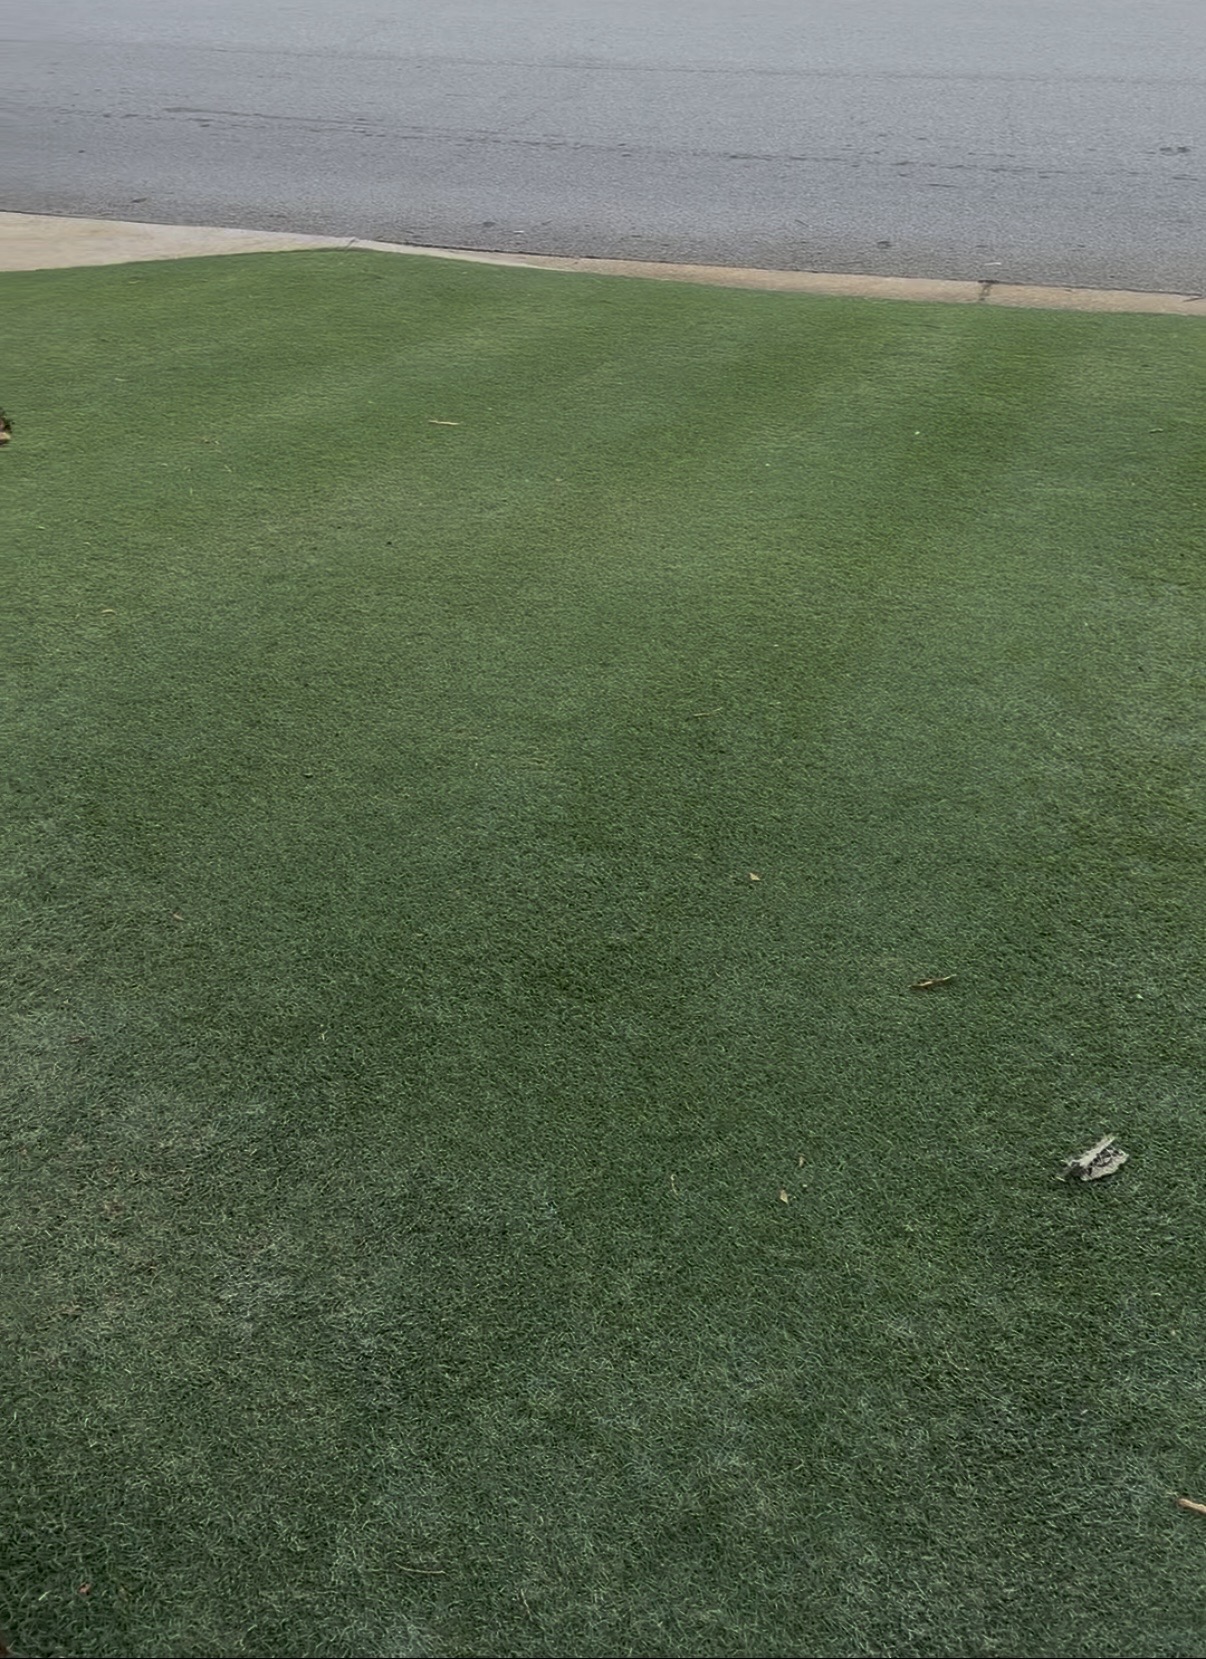
The mowing, feeding, projects, and timing behind my front lawn in Georgia. Start with the homeowner basics, then follow along with the extra work I put into mine.
Always free. No email signup. No purchase needed. See my lawn ↓



This guide is free whether you buy anything or not. Products are optional tools; the habits below are where to start.
You don’t need to copy every project or product in my routine. These are the four basics I’d build around for an established Bermuda lawn. Need a first step? Start this weekend ↓
My number-one rule: get a soil test before building your fertilizer plan. Stop guessing what the lawn needs. Here’s exactly how to do it ↓
During active growth, stay consistent. Keep the cutting edges sharp, use a height suited to your variety and mower, and avoid removing more than one-third of the leaf at once. Slow down as growth slows. Why I mow so often & how to start ↓
Aim for roughly 1 inch per week during active growth, including rainfall. Measure with a rain gauge or catch cups and adjust for your soil, weather, and lawn’s needs. Minutes on a sprinkler aren’t a measurement. My deep-watering approach ↓
Follow a fertilization plan based on your results and local Bermuda guidance. Match nutrients and amounts to the lawn’s needs, time feeding to active growth, and follow product directions. My first-year approach & soil-test walkthrough ↓
You can mow, water, and fertilize and still have a lawn that looks rough. Before buying more fertilizer, check whether one of these is the real problem.
If the same high spots turn brown after cutting, the mower may be removing too much leaf and exposing the stems. Uneven ground, waiting too long between cuts, and a cutting height that’s too low can all contribute.
Start here: Mow consistently, keep the cutting edges sharp, and raise the height enough to avoid repeated damage. If you want a lower, smoother finish, leveling during active Bermuda growth may be the next step. More fertilizer won’t flatten the lawn.
Mowing basics ↓A brown or bare patch could be disease, insects, uneven watering, or something buried beneath the grass. Rocks and leftover construction debris can leave too little soil for roots and make a spot dry out repeatedly.
Try a simple check: Gently push a screwdriver into the affected spot and compare it with healthy grass nearby. If you keep hitting a shallow, solid obstruction, investigate it carefully. Don’t force or hammer the tool, and keep clear of known irrigation lines and shallow cables. Hard, dry or compacted soil can also resist the screwdriver—resistance alone doesn’t prove there’s a rock.
Check sprinkler coverage and soil moisture too. If the patch is spreading, inspect for disease or insects before treating.
Shade is one of Bermuda’s biggest enemies. If the lawn stays thin beneath a tree or beside a building while sunny areas thrive, lack of direct sunlight may be the limiting factor. Tree roots can also compete for water and nutrients.
You can’t fertilize your way out of missing sunlight. Pruning may help if it meaningfully increases sun; in some locations, removing the source of shade is the only way to keep Bermuda there. If you want to keep the tree—or the shade comes from your house—consider a mulched bed, a suitable groundcover, or a more shade-tolerant lawn option instead of repeatedly trying to force Bermuda to fill in.
Fertilizer isn’t a weed-control plan. Use a properly timed, labeled pre-emergent to help prevent susceptible weeds, then identify and treat weeds that are already growing. Pre-emergent won’t remove established plants.
Match the product to the weed and your grass. Budget options can work; specialty products can help with specific problems. You don’t need every product listed. Follow the label for established Bermuda.
Do not apply post-emergent during peak daytime heat. Follow the exact product’s temperature limits and forecast restrictions.
Find your weed & treatment →Further reading: UGA: scalping and other non-disease problems ↗ · Extension: buried debris and dry spots ↗ · Clemson: Bermuda and shade ↗
You don’t need to walk the yard with a tape measure. Open Google Earth and use its measurement tool to estimate how much grass you’re treating.
Open Google Earth ↗, search your address, and zoom in using a straight-down view.
Select Measure (the ruler icon), place points around a lawn section, then connect the last point to the first to close the shape and see its area. Select square feet for the area units. Leave out the house, driveway, sidewalks, and beds.
Measure the front, sides, and back separately, then add only the sections you’ll treat. Save a screenshot or note the totals in your phone. Use that square footage with the exact product label when working out how much to apply.
Map measurements are estimates and don’t account for slope. If trees hide the edges or an area is unclear, check it with a tape or measuring wheel. Google’s measurement instructions ↗
Next: get the soil test ↓The first year I bought my house and decided I wanted to dominate the neighborhood, the first thing I did was get a soil test. That first year, I followed the report’s exact fertilization instructions for the year. That was my starting point.
That’s why this is my number-one non-negotiable. Before worrying about the extra products or chasing my mowing height, find out what your own soil needs and follow that plan.
Getting pH and nutrient needs right helps Bermuda grow well. A healthy, dense lawn is better able to compete with weeds and leaves less open space for them to establish. By “balanced soil,” I mean correcting what the test identifies—not adding every nutrient or chasing a magic ratio.
A soil test isn’t a weed killer, and good fertility doesn’t guarantee a weed-free yard. Keep mowing, watering, prevention, and targeted weed control in the plan too.
You don’t need to be a lawn nerd to do this. A soil test gives you a starting point for pH, lime, and nutrient recommendations so you can spend money on what your lawn actually needs.
Google “university Extension soil testing” plus your county and state. Check its collection instructions, sample quantity, fee, and drop-off process first. In Georgia, use your local UGA Extension office.
Search Amazon for “soil sample probe” if you want a dedicated tool. A clean trowel also works—you don’t have to buy equipment just to test your soil. Avoid tools or containers contaminated with fertilizer or lime.
Aim for 8–10 small samples in a zig-zag pattern across one similar lawn area; follow your lab’s instructions if it asks for more. UGA’s lawn depth is 4 inches, after clearing surface thatch. Combine the samples in a clean plastic bucket and mix well.
Keep different grass types or distinctly different soil/problem areas separate. Don’t blend your lawn, garden, and flower beds into one sample.
Spread the mixed soil on clean white paper and let it air-dry, usually overnight. Don’t seal damp soil in a plastic bag and expect it to dry. Once dry, put the requested quantity into a labeled zip-top bag or the lab’s sample bag. UGA requests about a pint of mixed soil.
Bring it to your Extension office and identify your lawn as Bermuda so you receive the right recommendations. Ask the office to explain the report if needed. Use it to plan lime and fertilizer amounts and timing instead of guessing or copying my applications.
Outside Georgia? Use your own university Extension or soil lab’s instructions. Sampling depth, packaging, quantity, and services can vary.
During active growth, my starting point is mowing 2–3 times a week, consistently. A little off often is the goal. Letting it get tall and then cutting it way back makes it harder to keep a smooth, green finish.
Bermuda naturally spreads through runners above and below the soil. Frequent mowing at a suitable height encourages lateral growth and density. I think of it as training the lawn to stay low and fill out. It still grows upward—mowing is encouraging a growth habit, not teaching the plant a rule.
That spreading growth can help healthy Bermuda fill small thin spots during the growing season. Mowing alone won’t fix shade, drainage, drought, or repeated scalping; address the cause too.
You don’t have to buy a reel mower. Use a sharp rotary blade and a height suited to your Bermuda variety, mower, and lawn surface. Choose a height you can maintain without scalping high spots; don’t copy my low reel-mower setting with equipment or ground that can’t support it.
I started with a Scotts manual reel. That little mower is what started this whole hobby, so you definitely don’t need a powered reel to get going. I use a Rolux S17 now.
Fair warning: a manual reel is a gateway drug to a really expensive hobby. You’ll always want to cut a little lower 😂
If you’re comparing manual reels, Scotts and Earthwise are two entry-level options. Scotts is the one I started with.
Check the model’s actual cutting-height range before buying. Manual reels suit manageable lawn areas and frequent, light cuts. Tall, thick grass, sticks, slopes, and uneven ground can make pushing and cutting harder. Keep the reel adjusted and cutting cleanly.
Further reading: Texas A&M Bermuda mowing guidance ↗ · UF/IFAS Bermuda care and mower choice ↗
My normal Bermuda routine is a deep watering about once a week when rain hasn’t supplied what the lawn needs. That’s for my established lawn—not while recovering from a leveling project or establishing seed.
Deep, infrequent watering encourages a stronger root system that can reach moisture farther down in the soil. That helps the lawn tolerate dry stretches. Frequent shallow watering can keep roots concentrated near the surface, where the soil dries quickly.
I think of it as training the roots. The practical goal is to wet the root zone and let the soil surface dry between waterings—not to deliberately stress the lawn or promise drought-proof grass.
About 1 inch per week during active growth, including rain, is a starting point. Adjust to weather, soil, root depth, and the lawn’s condition. If rainfall supplies enough, skip the extra irrigation. Don’t add an inch on top of an inch of rain.
Place several identical, straight-sided catch cups around the watered area. Run the sprinkler for a measured time, then compare and average the water depth. This also shows uneven coverage. My hose attachment’s run time won’t necessarily match yours.
If you see puddles or runoff, stop and allow infiltration before continuing in shorter cycles. On sandy soil or when the lawn dries too quickly, split the weekly amount into two deeper waterings rather than forcing everything into one session.
Folded grass blades, a dull blue-gray appearance, or lingering footprints can signal water stress. Check soil moisture and coverage before deciding to water. Once a week describes my usual routine, not a rule to follow through every heat wave or dry spell.
Early-morning watering helps limit evaporation and avoids extending leaf wetness into the night. Follow local watering restrictions. If a lawn product needs watering in, follow that label’s timing and amount.
Further reading: UC IPM: how to water deeply ↗ · UGA: watering, runoff, and drought ↗
As weeds die, the lawn may look thinner before the Bermuda fills in. You’re seeing how much grass was underneath. Focus on getting those spots to fill in with the right habits: consistent mowing, proper watering, fertilizer matched to the lawn’s needs, and time for the existing Bermuda to spread during active growth.
Think in weeks of consistent care, not an overnight transformation. Weather, the amount of living Bermuda, and the original problem affect progress. Take a weekly photo from the same spot to see the change.
Established Bermuda naturally goes dormant as temperatures drop. Brown doesn’t automatically mean dead or diseased. Extra fertilizer won’t make dormant grass fill bare spots; that recovery waits for active growth.
Hiring someone is a reasonable option if you don’t have the time, equipment, or interest. I’d start by looking for a smaller local company with strong recent reviews. Ask what they apply, why they’re applying it, and how they handle weather and temperature restrictions.
I’ve seen a friend’s lawn badly damaged after a treatment. Whoever you hire should follow the product’s application restrictions and take the lawn’s condition into account.
This is something I ran into with a couple of lawns I treated this year. I can handle the treatments, but I can’t control how often you mow or whether the lawn gets enough water.
If you’re mowing once a week while Bermuda is growing fast and it isn’t getting enough water from rain or irrigation, treatments alone won’t deliver the results you’re expecting. Your mowing and watering habits are part of the program—not optional extras.
Before hiring anyone, agree on what they handle and what you’re responsible for between visits.
You don’t need a shopping cart full of products to begin. Do these first, then build the plan around what you find.
Then: use your soil report for the fertilizer plan and the weed guide for any treatment you actually need. If Bermuda is dormant, focus on measuring, testing, identification, and equipment prep rather than pushing growth.
Checkboxes reset when you reload. Use “Print / save guide” below to keep a copy.
Before you give up on it, find out how much Bermuda is still there. A lawn full of weeds can hide grass worth saving. The goal is to remove the competition and give that Bermuda the conditions to fill in.
If you found my page through Emma’s lawn, you know the story. Her lawn needed help, and I stepped in. I treated weeds, including clover, and came back to mow and edge. Getting a rough lawn back takes follow-through—not just one visit with a sprayer.
Look between the weeds for living Bermuda and runners. Confirm the lawn’s grass type before picking a spray. If almost no living Bermuda remains, or the area is too shady for it, this may need a different repair plan rather than more weed killer.
The soil test is still my number-one non-negotiable. Clean up the edges and get the lawn back to a manageable mowing height. If it’s overgrown, bring it down in stages instead of stripping all the green off in one cut. Uneven ground may mean raising the height to stop repeated scalping.
Choose a post-emergent labeled for the identified weeds and your Bermuda. Start with what you actually need: a budget product may be enough, while stubborn weeds can call for a targeted option. You don’t need every bottle in my guide.
Follow the product’s mowing-before-and-after directions, rain-free interval, and repeat-treatment limits. Do not spray during peak daytime heat; follow the exact label’s temperature restrictions.
As weeds die, the lawn can temporarily look thinner or browner. That exposes how much grass was underneath. The goal is to get the existing Bermuda to spread and fill in—either by giving it time with consistent mowing, watering, and fertilizing, or by using plugs from the existing lawn to help fill the gaps.
Bermuda’s biggest advantage is its aggressive lateral growth when you give it the right conditions. For this recovery approach, we’re working with the living Bermuda already in the lawn. Let that grass spread into the gaps instead of introducing another variety.
Fix what’s holding it back, then give it sunlight, consistent mowing, enough water, appropriate fertilizer, and active growing time. Bermuda spreads through above-ground runners and underground stems. Work with that strength and give it time to fill in.
Adding seed or patching with a different sod variety can leave you with mismatched color, texture, and growth. My approach here: recover the Bermuda you already have.
Mow consistently—my homeowner target is 2–3 times a week during active growth—water deeply as needed, and follow the fertilizer plan from your soil test. Keep the cut high enough to avoid scalping. The goal is healthy spreading growth, not copying my lowest reel-mower setting.
This takes growing time. Dormant Bermuda won’t fill gaps in winter just because you’ve removed the weeds.
Inspect survivors and new seedlings, and repeat treatment only when the label allows. Add properly timed pre-emergent for susceptible future weeds; it won’t kill the weeds already there. Check the product’s restrictions for recovering turf before applying.
I ran into this with a couple of lawns this season. If the Bermuda is growing fast but you’re only mowing once a week, and it isn’t getting enough water, the results are going to be limited. Whether you do the treatments yourself or hire them out, the mowing and watering still have to happen.
Bermuda recovery reference: Texas A&M Extension: spreading growth, mowing, water, and soil-test-based nutrition ↗
A soil test, consistent mowing, proper watering, and a fertilizer plan based on your results—that’s the foundation. Build those habits first. Keep an eye on weeds, disease, and insects, and deal with actual problems as they come up.
Aerating, verticutting, leveling, PGR, liquid iron, and the other extras are staples in my own lawn care. They can be helpful, but they add cost, time, and sometimes equipment you might not want to buy. Most homeowners don’t need my full routine to have a nice Bermuda lawn.
Use an extra when it solves a problem or helps you reach a goal you care about. You don’t have to do it just because you see me doing it. If you’re happy with your lawn, there’s no need to spend more chasing my level of maintenance.
Want to take it further? That’s what the Aspiring Lawn Nerd section is for.
Explore my full process →The essentials for a nice Bermuda lawn: mowing, watering, soil-test-based feeding, and weed prevention. These are Georgia-style seasonal windows; weather and actual growth set the timing.
For the low-cut, carpet-like finish: frequent mowing, feeding, soil amendments, iron, PGR, and the bigger renovation jobs. This is the calendar I’d build around in Georgia. Let soil temperatures, growth, and recovery set the pace.
For the low, tight finish I’m chasing, this is the setup and commitment I’d want before starting my process. You can rent equipment or hire out the bigger jobs.
The mower is only the beginning. Factor the tools, upkeep, water, and time into the budget before chasing this height.
When you’re chasing this kind of lawn, have a plan for weeds, insects, and fungal disease. Over time, I ended up buying all of this because I kept running into different problems. This is the treatment kit I built along the way.
Build the kit as you need it. Identify the problem and use the appropriate labeled treatment. This list doesn’t mean applying everything together or treating every problem on a timer.
See my products & shopping links ↓The numbers on a fertilizer bag describe its nutrient percentages by weight, always in this order:
Most of my feeding uses an x-0-0 fertilizer—nitrogen without added phosphorus or potassium. The “x” is the nitrogen percentage: 32-0-0 is 32% nitrogen. That’s why different strengths need different product amounts to supply the same nitrogen.
Zeroes on the bag don’t mean the lawn never needs P or K. Use the soil report to decide when to add them. On labels, the second and third numbers are expressed as phosphate (P₂O₅) and potash (K₂O).
UGA: understanding fertilizer labels ↗Watch the soil-temperature trend toward 55°F and get The Andersons Barricade—or Specticle FLO if you are ballin—down at that window, ahead of weed germination. Follow its watering-in directions. Don’t wait for weeds to show up.
Early-spring weather sets the timing. At roughly 50% green-up, scalp to reset the cut and begin the fertilization schedule as growth gets going. Mow frequently through recovery—4–5 times a week is the commitment behind this finish once growth supports it.
A soil test is recommended. My fill-in approach was nitrogen-focused, alongside Humic DG as a soil amendment and micronutrients to address nutrient gaps. Choose the nitrogen amount and any micronutrients for your lawn’s needs; frequent applications split the planned amount.
Keep the feeding, mowing, and watering consistent. Aim to have the lawn largely filled in by mid-May, with the weather and starting condition setting the actual pace. Use liquid iron as needed for color.
Late spring–early summer: plan armyworm prevention. Acelepryn is my prevention product. Time a labeled preventive application ahead of expected local armyworm activity; don’t wait for the lawn to be stripped. Follow the exact formulation’s rate, residual window, and repeat-application limits. See my armyworm guide →
Hold PGR while you’re pushing fill-in. Some lawn nerds start as early as May to manage vertical growth while encouraging a dense finish. My preference is to push growth first and start PGR after leveling and recovery. The goal is to start regulating when the lawn is where you want to keep it.
Look for sustained warm weather and enough growth for recovery. Scalp about 0.25–0.50 inches below your intended maintenance HOC (height of cut), within what the mower and lawn can handle. Aerate and level where needed to smooth the surface so you can maintain a low cut without repeatedly scalping high spots.
I prefer masonry sand. Some people fertilize a few days before the scalp; I’ve always applied mine over the sand. Keep watering through recovery and let the Bermuda grow back through.
Hold off mowing for at least 10 days after leveling. I learned that expensive lesson. Wait longer if the lawn hasn’t recovered or loose sand remains in the cutting path. Start the PGR routine once recovery is complete.
Monthly: nitrogen, Humic DG, and micronutrients as called for by your soil and nutrient plan. This is the full-extra routine; the soil test still determines which nutrients need topping up.
About every two weeks: T-Nex PGR paired with liquid chelated iron for color. Use GDD in Lawn Dominators to set PGR timing rather than treating two weeks as a fixed deadline.
Stagger feeding and PGR spray days. Soline is another extra I include with my PGR and iron, with the goal of supporting roots and soil. I also add Turf Mark spray-pattern dye to the PGR mix so I can see where I’ve sprayed. Follow every product’s label and tank-mix compatibility directions. Keep the frequent mowing and measured watering going.
Keep checking for armyworms. Scout through summer, watch local alerts, and review when your Acelepryn protection may need renewing under the label. A previous application doesn’t replace checking the lawn.
If the lawn gets puffy, the mower starts floating, or lines appear, consider a scalp and verticut—or just a verticut. Choose the amount of disruption for the lawn’s condition, recovery weather, and how much work you’re willing to put on the mower. It’s a response to buildup, not a compulsory monthly job.
Let the lawn recover before resuming PGR. Keep the feeding, iron, and mowing routine matched to that recovery.
Continue the routine while Bermuda is actively growing: consistent cuts, watering, and the planned feeding and spray applications. Enjoy the peak. Skip unnecessary renovation as recovery time starts to narrow.
Watch for the fall pre-emergent window now. It can arrive before October; get it down before winter weeds germinate, following local conditions and the label.
As growth slows, wind down the nitrogen, amendments, iron, and PGR applications. Mow as needed and ride out the season. Complete fall pre-emergent at the right window if it hasn’t already arrived—don’t use the month alone to set the timing.
Compare budget and specialty options for common Bermuda weeds, learn what pre-emergent does, and check the restrictions before spraying.
Learn the disease warning signs, check common lookalikes, and choose a prevention or treatment plan for the actual problem.
Explore the fungus guide →I’ve caught them before they caused damage. Learn what to look for, how to check a suspicious patch with a soap flush, and how I use Acelepryn.
Explore the armyworm guide →Checklist resets when you reload. Use “Print / save guide” for an offline copy.
Products I’ve used and options linked for the guide. Each description explains its role; this is not a list to apply all at once.
The Andersons: Quality granules and combinations I’ve had great results with. I used their products before becoming an affiliate. They’re a premium brand, but I find the pricing reasonable—you can get a great lawn with other brands too. Council-Oxford: Cole supported my page early and sent products to try. I’m not paid to post their stuff; I just like their products and supporting a local business with good people, years of knowledge, and turf-nerd products you won’t find at a big-box store.
The growth regulator I use in my low-cut Bermuda routine. It slows vertical growth to help manage mowing and maintain a consistent finish. This is an extra for my lawn goals, not a requirement for a nice homeowner lawn.
Use the label’s rate for your grass and growing conditions; don’t apply to stressed turf or automatically copy my reapplication schedule.
Shop T-Nex at DoMyOwn ↗Regular shopping link · No code addedThe chelated iron linked for my lawn routine. Follow the exact product label for turf use, mixing, and application directions.
Shop chelated iron ↗Regular shopping link · No code addedA fertilizer option for a soil-test-based feeding plan. Account for its nitrogen, phosphorus, and potassium when planning applications.
Shop Core 24-6-12 ↗Affiliate link · I may earn a commissionA soil amendment I’ve used alongside my routine. Get mowing, water, and nutrition in place before adding extras.
Shop Humic DG ↗Affiliate link · I may earn a commissionAn optional biochar soil amendment. Consider it separately from your fertilizer needs; it isn’t a required step in the beginner routine.
Shop BioChar DG ↗Affiliate link · I may earn a commissionFor prevention of labeled weeds, not removal of existing weeds. Follow the label’s turf, timing, and application directions.
Shop Barricade ↗Affiliate link · I may earn a commissionA post-emergent option I use for labeled weeds in Bermuda. Barricade helps prevent weeds; Celsius treats susceptible weeds already growing. Identify your weeds and follow the product label for your grass and application conditions.
Shop Celsius at Council-Oxford ↗I pair Loyalty with Celsius for broader control of the weeds I run into in Bermuda, including labeled sedges and broadleaf weeds. Together, they cover a lot of my weed-control bases. Match the treatment to the weed and follow both labels when tank mixing.
Shop Loyalty WDG at Council-Oxford ↗My option for labeled cool-season weeds in Bermuda, including Poa annua, plus broadleaf weeds like henbit and chickweed. Follow the label for timing and turf conditions.
Shop Negate at Council-Oxford ↗The liquid insecticide I use for labeled turf pests, including armyworms and grubs. Follow the label’s pest-specific timing, rate, and watering directions.
Shop Acelepryn at Council-Oxford ↗A granular fungicide I’ve used for labeled lawn diseases. Combines azoxystrobin and propiconazole; match the application to the disease and follow label directions.
Shop Headway G at Council-Oxford ↗A granular combination I’ve used for labeled turf insects and diseases. Contains azoxystrobin and thiamethoxam. It shares a fungicide ingredient with Headway G, so account for that overlap in your treatment plan.
Shop Caravan G at Council-Oxford ↗An optional supplement for a demonstrated nutrient need. Check what your main fertilizer already supplies before adding more.
Shop Micronutrient Supplement ↗Affiliate link · I may earn a commissionMy nitrogen staple for the feeding routine in this guide. A nitrogen-only 32-0-0 fertilizer; match the amount to your nutrient plan and this product’s analysis.
Shop Pure Nitrogen 32-0-0 ↗Affiliate link · I may earn a commissionA balanced fertilizer supplying nitrogen, phosphorus, and potassium, with quick-release nitrogen and fine granules. Use it when your soil-test plan calls for those nutrients, rather than automatically adding it to every feeding.
Shop PGF Balanced 10-10-10 ↗Affiliate link · I may earn a commissionA fertilizer I’ve used in my lawn program. Choose nutrients based on your soil test, and use the labeled rate.
Shop PGF Complete ↗Regular shopping link · No code addedThe backpack sprayer in my setup. Calibrate your output with water before applying a lawn product.
Shop the HD4000 ↗Regular shopping link · No code addedNo. A well-maintained rotary mower can produce a great Bermuda lawn at a suitable height. Reel mowing at very low heights takes more frequent mowing and a smoother surface.
This edition is for Bermuda. Fescue, zoysia, centipede, and St. Augustine have different needs. Confirm your grass before choosing products or copying a schedule.
Start with the label rate and your measured area: product needed = labeled amount per 1,000 sq ft × your lawn area ÷ 1,000. Weigh that amount before spreading. Spreader settings are only a starting point and vary by product and equipment.
No. A video shows what I’m doing on my lawn at that moment. Your grass, weather, soil, and goals may call for something different. With pesticides, the label determines where and how a product can be used.
The mowing, the projects, and the lessons along the way. Follow The Turf Dad on Instagram and TikTok.